
If you live in Queen Creek, San Tan Valley, or anywhere in the East Valley, you’re no stranger to the high cost of water. But there’s a specific kind of "sticker shock" that happens when you open your monthly statement and see a jump of $50, $100, or even $200 more than usual.
Your first thought probably goes to a running toilet or a broken irrigation line. But if you have a swimming pool, that sparkling oasis in your backyard might be the silent culprit. In the Arizona heat, evaporation is a fact of life, but a true leak is a financial drain that only gets worse with time.
At Complete Aquatic Solutions, we see this every day. Homeowners in Chandler and Gilbert often mistake a structural leak for "just the summer heat." Today, I’m going to teach you exactly how to determine if your pool is actually leaking or if the sun is just doing its thing.
Here are the 5 steps to diagnosing a pool leak and saving your pool (and your bank account).
Before you start any complex testing, play detective. The easiest leaks to find are the ones you can actually see. Walk over to your equipment pad: that area where your pump, filter, and heater live: and look for any signs of moisture.
What to look for:
- Damp ground or puddles: Even a small drip from a PVC pipe can add up to hundreds of gallons a month.
- White crusty deposits: In our hard Arizona water, a leak often leaves behind calcium or salt "trails" where the water has evaporated.
- Spray or "misting": Sometimes a tiny pinhole leak in a pipe will create a fine mist that’s hard to see unless the sun hits it just right.
- Level the playing field: Bring your pool water to its normal operating level (usually middle of the skimmer).
- Fill the bucket: Take a standard 5-gallon bucket and fill it with pool water.
- Set the stage: Place the bucket on the first or second step of your pool. This ensures the water in the bucket stays at the same temperature as the pool water.
- Mark it: Use a piece of electrical tape or a sharpie to mark the water level inside the bucket and the pool water level on the outside of the bucket.
- Wait 24 hours: Turn off your auto-fill (this is crucial!) and let it sit for 24 hours.
- If both levels dropped the same amount: It’s just evaporation. You’re good!
- If the pool level (outside mark) dropped more than the bucket level (inside mark): You have a leak.
- 2 Hours of Targeted Detection: We don’t just guess. We use electronic listening devices to "hear" leaks in the pipes.
- Dye Testing: We check the "usual suspects": the skimmer throat, the light niches, and the return lines: using specialized dyes that get sucked into even the smallest cracks.
- Pressure Testing: If necessary, we’ll isolate your plumbing lines to see if they hold air or water pressure.
- Check your pad for visible drips.
- Run the Bucket Test to confirm it’s not just evaporation.
- Shut off the auto-fill to see the true water loss.
- Use our Virtual Technician if you need a step-by-step guide.
- Book a Pro for $350 if the DIY steps point to a hidden problem.
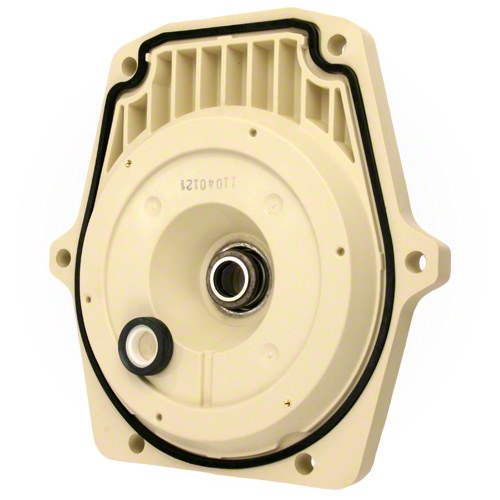
If you see water leaking from your pump, you might need a new seal plate. We keep parts like the Pentair Whisperflo seal plate in stock for exactly this reason. If the equipment pad is bone-dry, the leak is likely underwater or underground.
The bucket test is the gold standard for DIYers. It tells you if the water loss you’re seeing is due to evaporation or a physical hole in your pool.

How to do it:
The Result:
Pro Tip: If you’re feeling stuck or want someone to walk you through the results in real-time, jump on our Virtual Service Technician. It’s an AI-powered pool expert that can help you troubleshoot the bucket test or guide you through checking your specific equipment brand.
The auto-fill is a pool’s "silent killer" when it comes to water bills. Most pools in San Tan Valley and Mesa have a mechanical float (like the one in your toilet tank) that automatically adds water as the level drops.
If you have a leak, the auto-fill will constantly replenish the water, hiding the leak from your eyes while your water meter spins like a top.
How to test it: Simply turn the water valve to your auto-fill off for 48 hours. If you notice your pool level dropping significantly (more than 1/2 inch per day), you’ve confirmed the leak exists. Often, the auto-fill valve itself is the leak: sometimes it gets stuck "on" and continuously drains water through the overflow pipe.
You might wonder, "What does cleaning have to do with a leak?" Everything.
If your pool is full of desert silt and debris, it becomes nearly impossible to see small cracks in the plaster or to perform a "dye test." A clean pool is a transparent pool.
We recommend the Pentair Rebel Suction Side Cleaner for our East Valley customers. It’s a beast at picking up the sand and grit we get in Queen Creek. When the floor is spotless, it’s much easier for a technician (or a DIYer) to spot the tell-tale signs of a structural leak.

Furthermore, a leak means you are constantly adding fresh, imbalanced water to your pool. This dilutes your chemicals and raises your pH. If you find yourself constantly dumping chlorine or acid into the pool just to keep it from turning green, you might be "bleeding" chemicals through a leak. Keep a Taylor K-2006 Service Complete Kit on hand to monitor your levels. If your Cyanuric Acid (CYA) levels are dropping rapidly without a backwash, that’s a huge red flag for a leak.
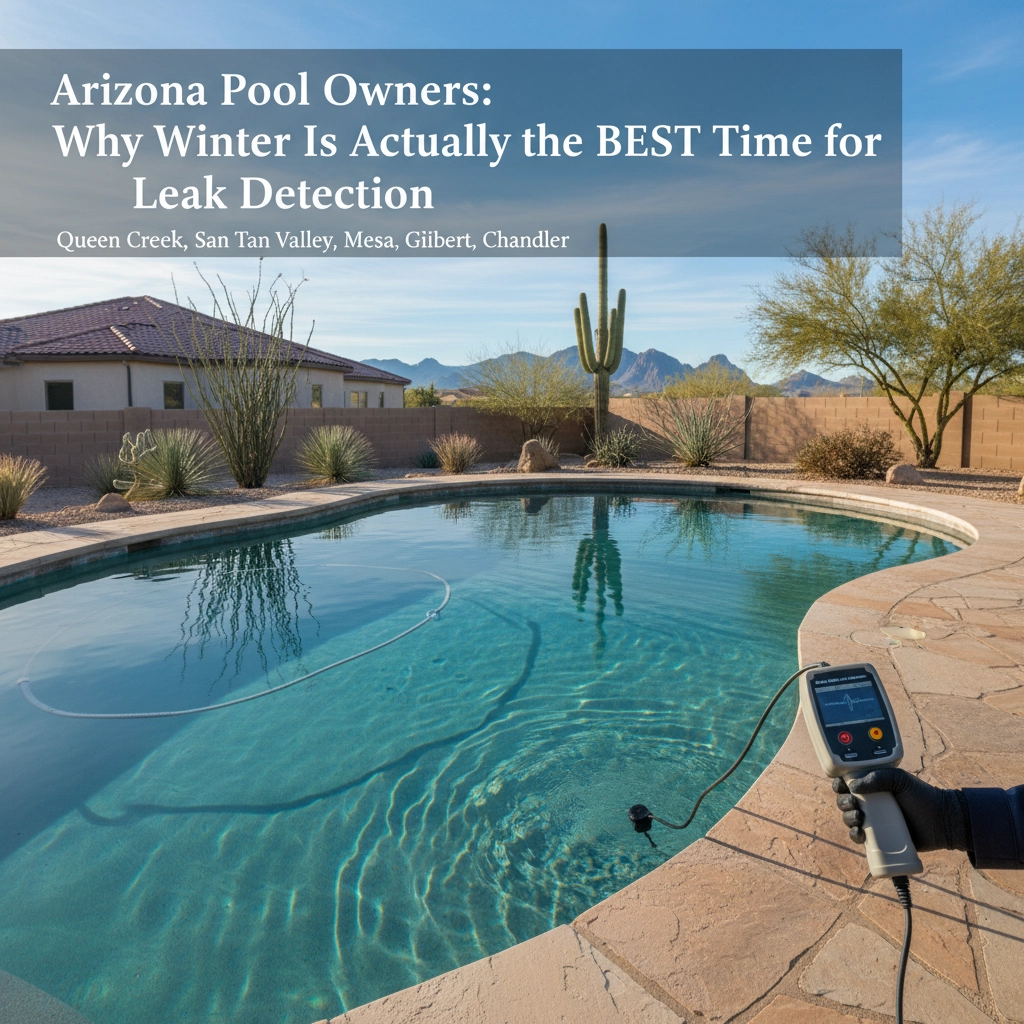
If the bucket test proves you have a leak, but the equipment pad is dry, it’s time to call in the experts. Leak detection is a specialized science that requires sonar equipment and underwater microphones.
In Queen Creek and the surrounding areas, Complete Aquatic Solutions offers a flat-rate Professional Leak Detection service for $350.

What’s included in our $350 Service:
Finding a leak early can save you thousands in structural damage and water bills. A leak that’s left alone can eventually wash away the soil under your pool deck, leading to "deck heave" or massive cracks that are far more expensive to fix than a simple $350 detection fee.
Summary: Stop the Drain Today
Don't let the Arizona sun take the blame for a high water bill that's actually caused by a hole in your plumbing.
Whether you're in Chandler, Gilbert, or Queen Creek, we're here to help you keep your pool water where it belongs: in the pool.
Need help right now? Visit our DIY Diagnostics page or call us to schedule your leak detection!